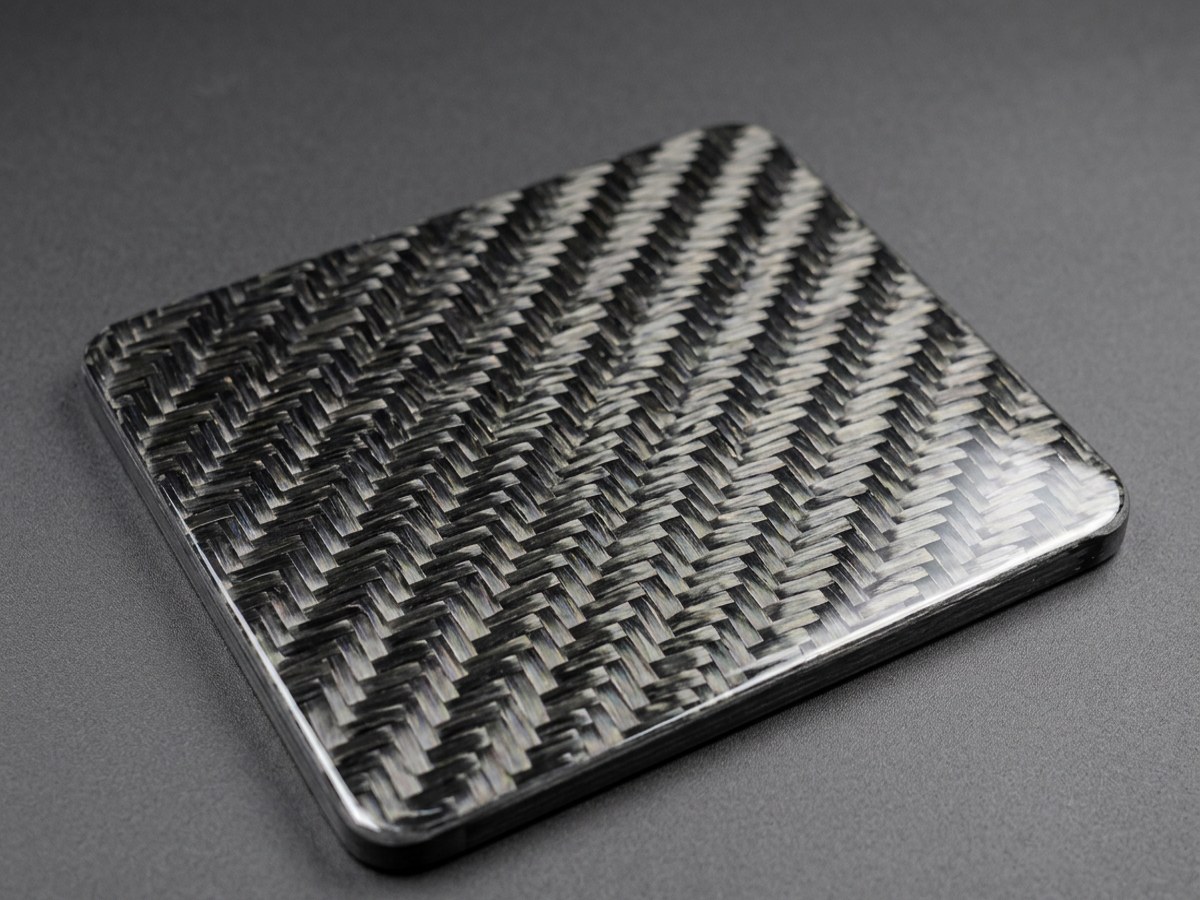
2x2 Twill Carbon – Gloss
2-over-2 twill weave under high-gloss clear coat. Seamless 2048px maps + Fusion & Inventor guides.
Free texture guide
Free seamless carbon fibre weave textures: plain weave 1x1 and twill 2x2, 3x3, 6x6 PBR maps with ready-to-use Fusion and Inventor setups.
Also covers forged and hexagonal carbon, brushed aluminium and leather.
Download the full manual (PDF)Plain weave (1x1) — tight checkerboard, common on structural panels.
Twill 2x2 — the classic diagonal "race car" look on bonnets and wings.
Twill 3x3 / 6x6 — larger tows for a bolder pattern on big panels.
2-over-2 twill weave under high-gloss clear coat. Seamless 2048px maps + Fusion & Inventor guides.
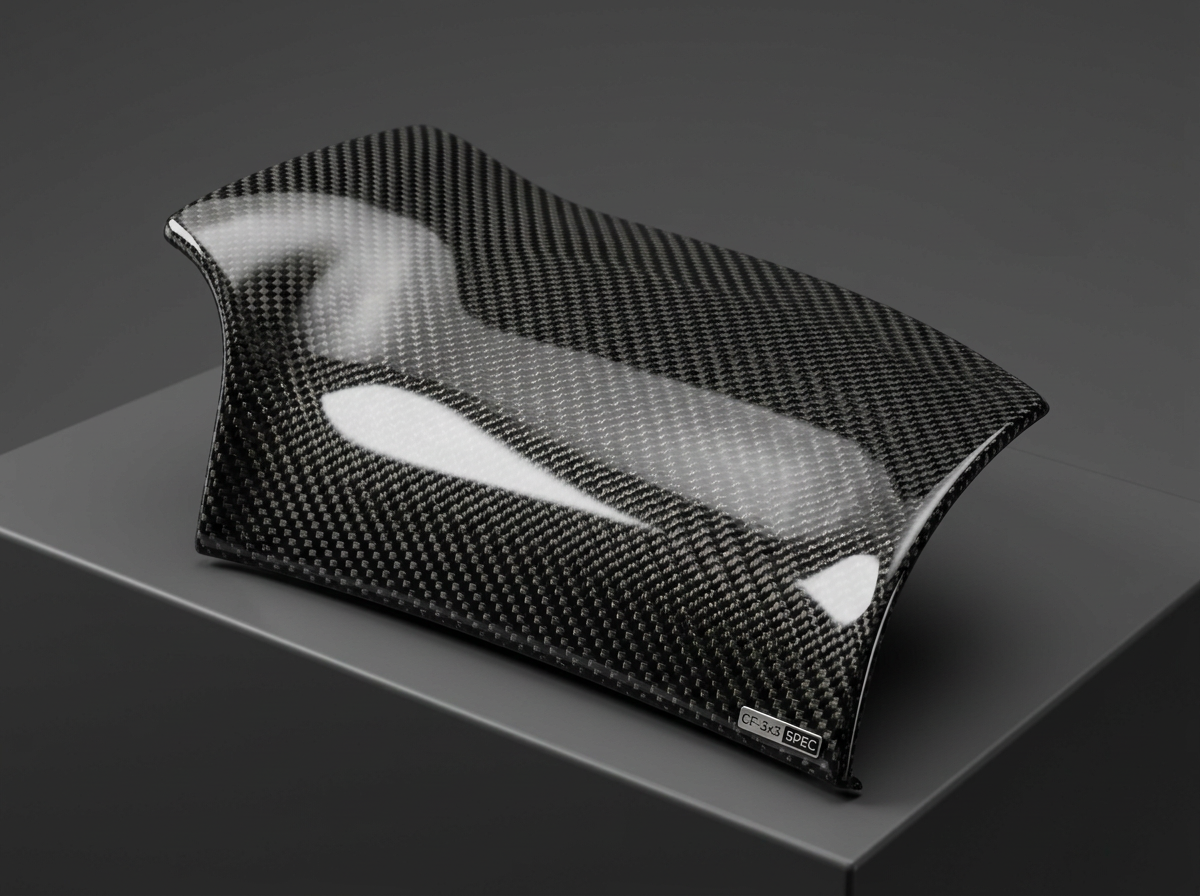
3-over-3 twill weave under high-gloss clear coat. Seamless 2048px maps + Fusion & Inventor guides.
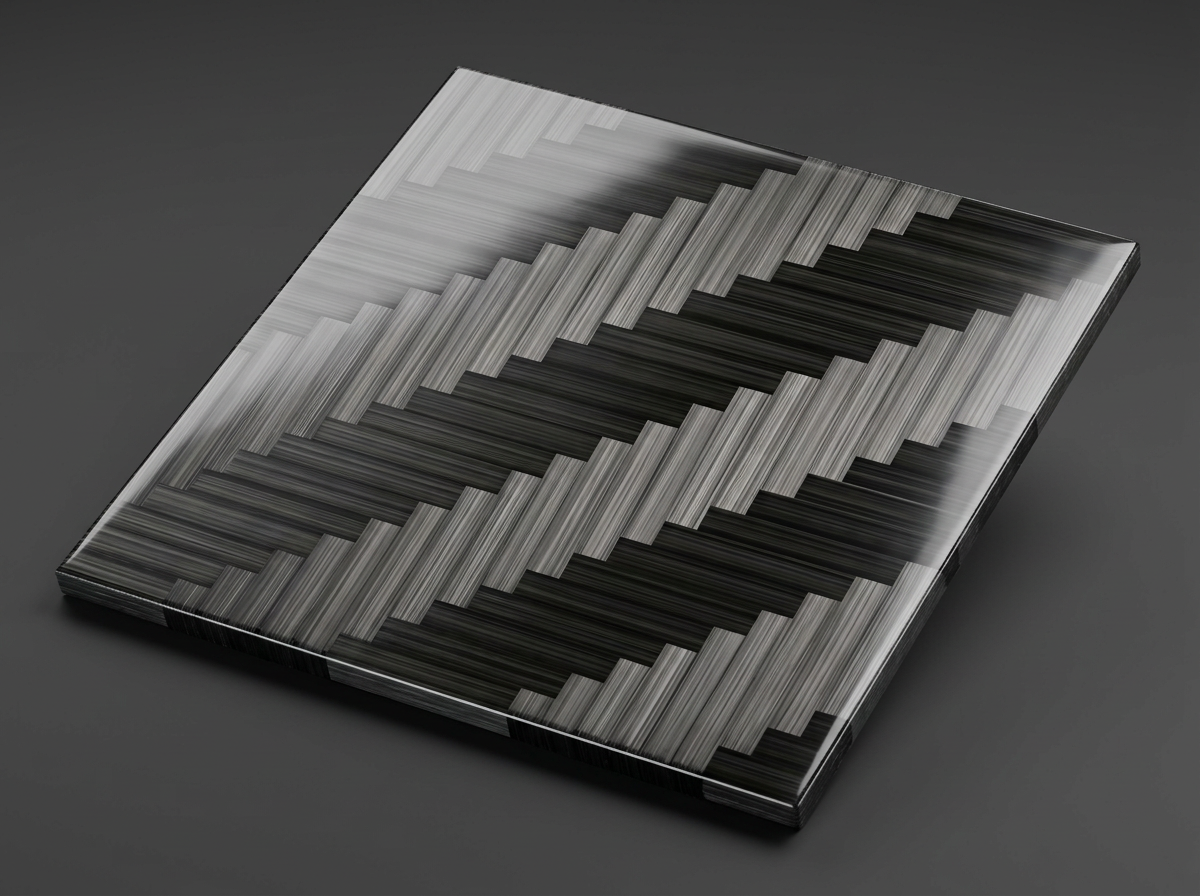
6-over-6 twill weave under high-gloss clear coat. Seamless 2048px maps + Fusion & Inventor guides.
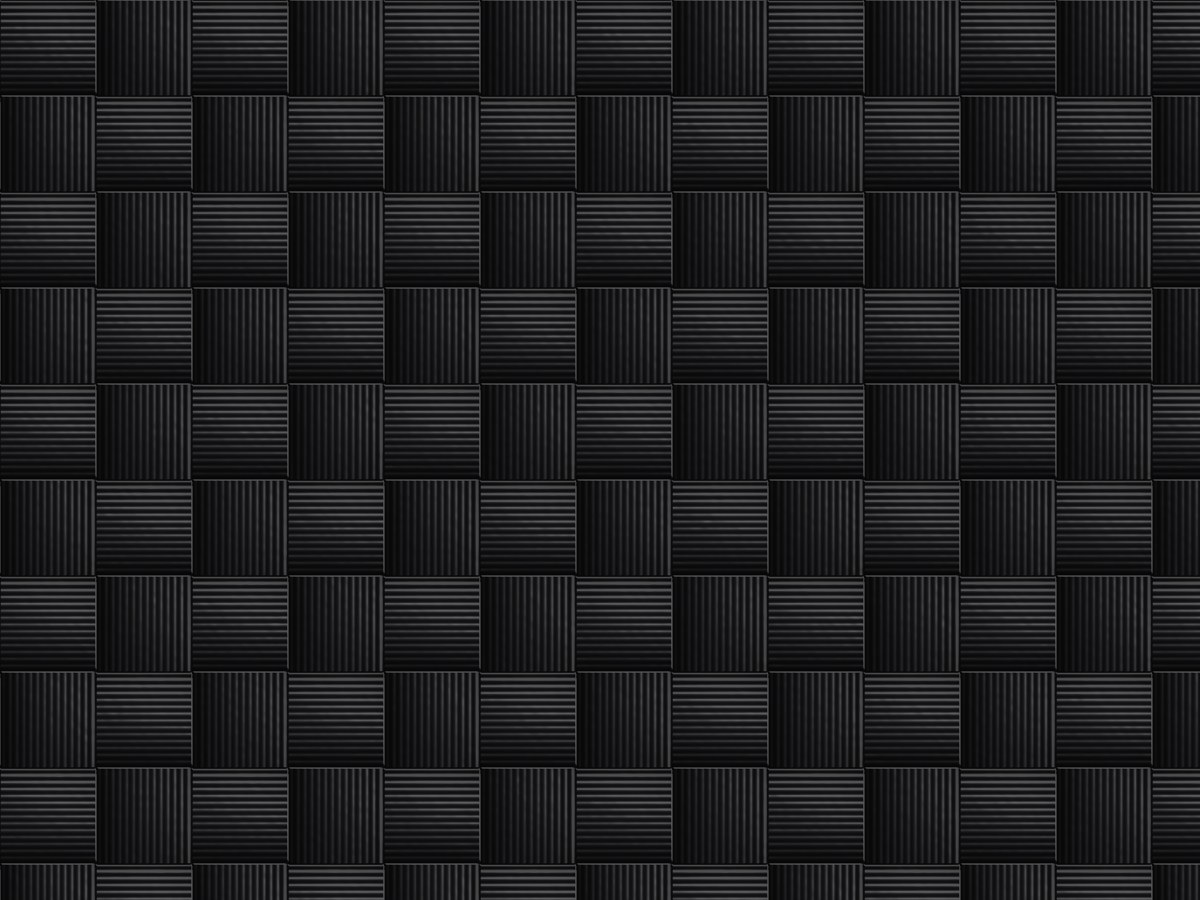
Classic 1x1 plain weave under clear resin. 6 seamless 2048px maps plus Fusion and Inventor setup guides.
Real tow widths: plain weave and 2x2 twill are usually 3k tows (about 5–6 mm per square). 3x3 and 6x6 suit bigger 12k looks.
If the weave looks like a checkerboard from across the room, the tile is too big — halve it.
Tile sizes: plain 100 mm, 2x2 80–100 mm, 3x3 120 mm, 6x6 200 mm per full map.
Run the weave along the length of the part — lengthwise on a bonnet, spanwise on a wing.
For a 45° "bias" look, rotate the texture 45° instead of rotating the part.
On curved parts, use Box or Cylindrical projection so the weave doesn't stretch.
Real carbon is near black — keep the base color dark; the shine comes from the clear coat.
Gloss parts: low coat roughness and a bright studio environment. Matte / satin: raise roughness to 0.4–0.6 and drop the coat.
A subtle bump sells the weave; too much and it looks like fabric.
| Pack | Metal | Roughness | Coat | Normal depth | Tile |
|---|---|---|---|---|---|
| Forged carbon – Gloss | 0 | 0.18 (map) | 1.0, rough 0.03 | 0.2 | 100 mm |
| Forged carbon – Satin | 0 | 0.45 (map) | 0.5 | 0.2 | 100 mm |
| Forged carbon – Matte | 0 | 0.75 (map) | none | 0.2 | 100 mm |
| Hexagonal carbon – Gloss / Satin / Matte | 0 | 0.18 / 0.45 / 0.75 | 1.0 / 0.5 / none | 0.25 | 100 mm |
| Plain weave 1x1 – Gloss | 0 | map | 1.0, rough 0.03 | 0.25 | 100 mm |
| Twill 2x2 – Gloss | 0 | map | 1.0, rough 0.03 | 0.2 | 80–100 mm |
| Twill 3x3 – Gloss | 0 | map | 1.0, rough 0.03 | 0.2 | 120 mm |
| Twill 6x6 – Gloss | 0 | map | 1.0, rough 0.03 | 0.2 | 200 mm |
| Brushed aluminium | 1.0 (map) | 0.3 (map) | none | 0.1 | 50 mm |
| Black leather | 0 | 0.6 (map), spec 0.4 | none | 0.6 | 150 mm |
Starting points — check them against your own renders.
Forged carbon has no direction, so it hides seams well on complex shapes.
Keep the base colour dark; the shine comes from the clear coat.
Hexagonal carbon reads best at 100 mm or smaller so the cells stay crisp.
Turn metalness up to 1 — otherwise it looks like grey plastic.
Line the grain up with the part's longest edge, like real machining marks.
No clear coat; a bright environment makes the grain streaks show.
No clear coat and no metalness; specular around 0.4.
A stronger normal depth (about 0.6) brings out the pebble grain.
Use a larger tile (about 150 mm) so the grain isn't too busy on a steering rim.
Base color — the colour of the fibres. Roughness / glossiness — how shiny each spot is (opposites of each other). Normal (GL / DX) — fake surface detail; GL for Fusion, Blender and KeyShot, DX for 3ds Max and Unreal. Height — bump depth, used by Inventor.
Want a different colour, like red or blue carbon? Try the Variant Lab, or preview a part in the Model builder.